Saturday 30 August 2014

Waffled Hashbrowns


This is a super easy way to make hashbrowns.  No worries about burning or checking the pan every few minutes.  Just throw some grated potato onto a waffle iron and go about your business for 15-20 minutes.

Nice and crisp!


After potatoes are grated, twist them up in a clean tea towel and squeeze out as much liquid as possible - the drier the mix, the crispier the hashbrowns.  Season with salt and pepper.


Spray the waffle iron lightly with cooking oil spray.  Then spread out the grated potato - I used about 1 1/2 cups of potato for this single batch - then close the lid.  The waffle iron will indicate it is ready earlier than it is.  You will likely need a minimum of 10 minutes, but mine took closer to 15.


Wednesday 27 August 2014

Plum Clafoutis


I've been wanting to make plum clafoutis for a few years ... I don't know why it had to be plum but it did.  The plum trees I planted last year have yet to produce beyond the single plum the year they were planted.  But I must admit I have done very little maintenance.  So I will remedy that as we head into cooler weather to be sure they have a healthy start next spring.

In the meantime, I popped by a local market ... I was intending to buy seconds of tomatoes as I don't have enough of my own to make the massive quantities of salsa and sauce I go through each year.  Unfortunately, the market farm is having their own issues with tomatoes and are a bit behind this year (maybe in a couple of weeks they said).


But there I found some lovely plums ... and finally made a clafoutis.  It was everything I was hoping it would be: a very moist and soft spongy texture filled with a slightly sweetened but still somewhat tart taste of plum.

I slapped together a recipe from a few I found online and used a combination of buttermilk and 18% cream (some recipes were just milk while some used all heavy cream!).

Combine in a large bowl:
2/3 cup flour (multi blend)
1/3 cup sugar
3 eggs

Mix in:
1 cup buttermilk
1/2 cup 18% cream
1 tsp lemon zest
1 tsp vanilla extract
1 pinch salt

Stir dry and wet ingredients to make a loose batter.

In one layer, place plum halves (about 15 plums) in the bottom of a deep dish 10 inch pie plate.  I rotated between cut half down or up.


Then pour the batter over top and shake very gently to settle any bubbles.


Bake at 350 degree F for about 35 - 40 minutes or until the batter has set (toothpick comes out clean).

I served it with roasted plums and plum ice cream (the recipe for which I will share separately because, well ... it deserves its own page it was that good!).


Monday 25 August 2014

Harvest Monday: August 25, 2014

The past week started with the cool, wet weather we have had recently, but ended with a few more seasonal days - very hot, very humid!  New to the harvest this week are borlotti beans and spaghetti squash.  Most of the borlotti beans (7 pounds was the total) have been left to dry out ...


Some have already been harvested as shown on a previous posting.


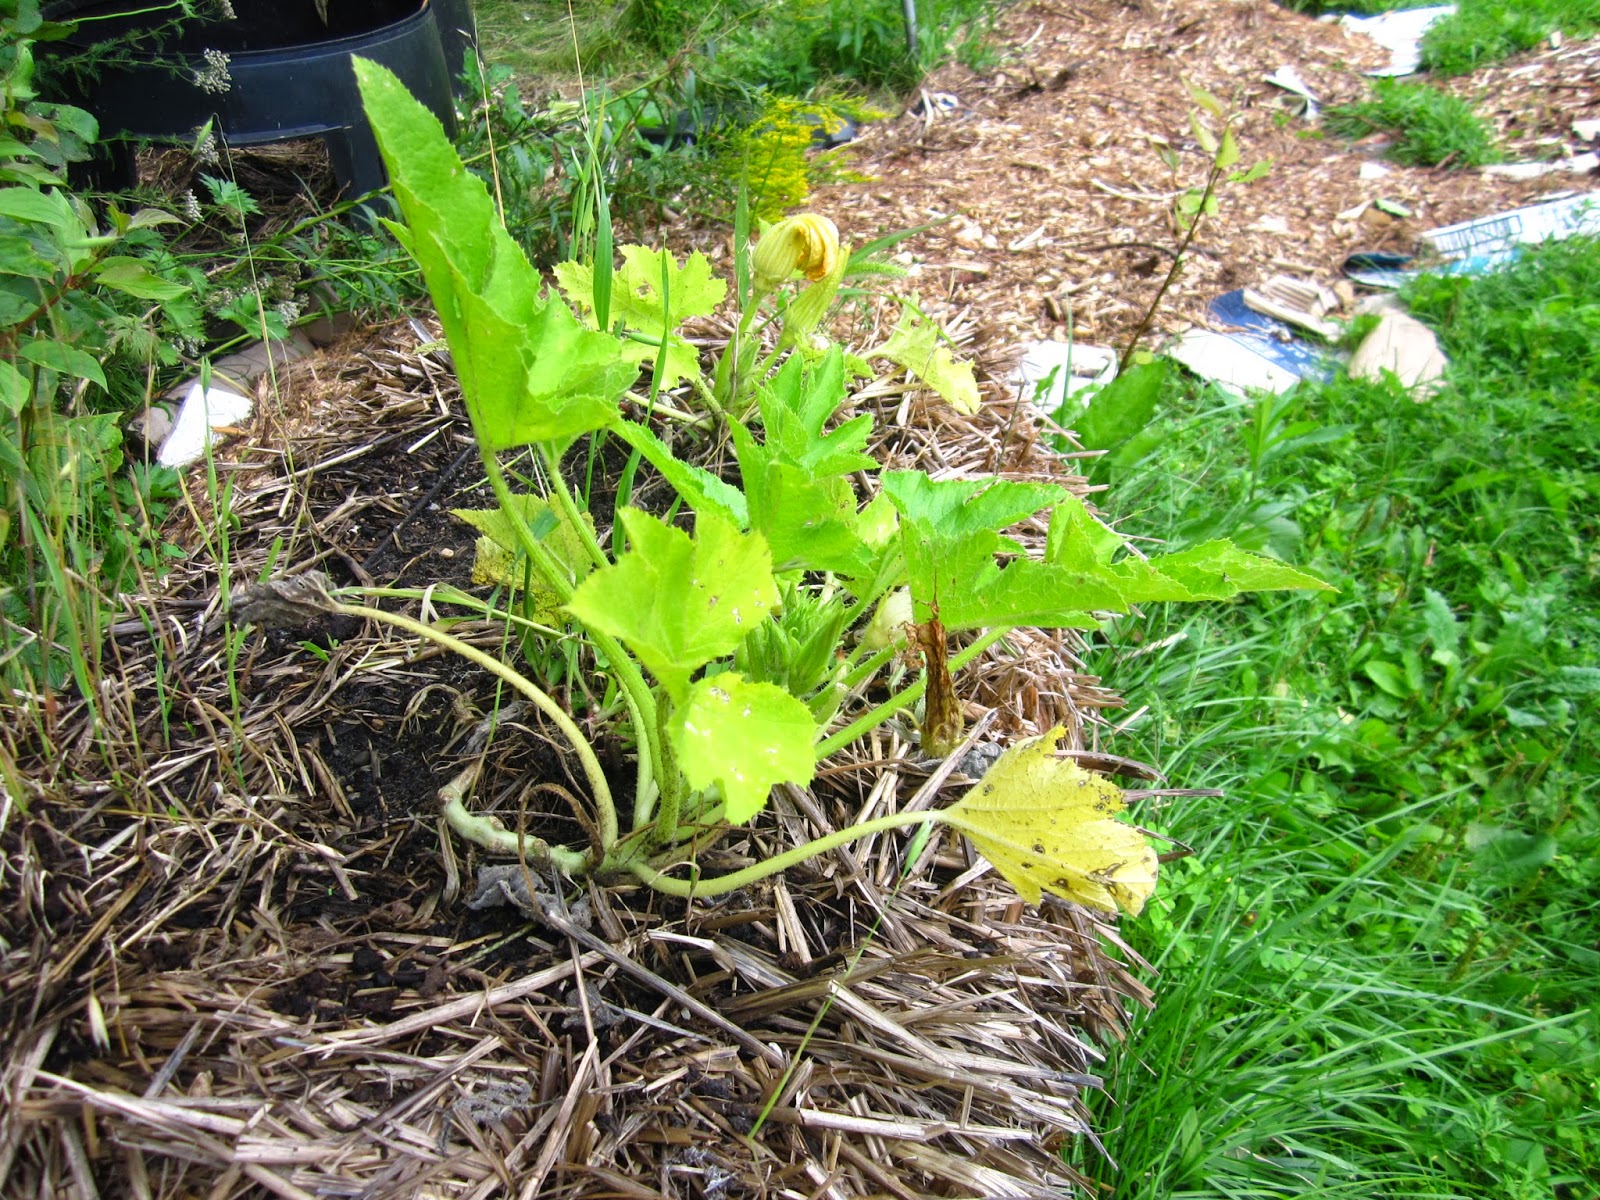
This spaghetti squash is the first of about 8 on the go.  It is the first time I've grown this type of squash so I'm anxious to crack it open.  I love spaghetti squash and have already promised some to friends so I hope it is okay.


And more of the usual suspects.  These 5 pounds of blue russian potatoes puts me around 20 pounds plus so far for my potato harvest.  And I still have about 15 plants in the ground, including my beloved fingerlings which I haven't touched yet.


I don't have too many tomatoes ... not enough to start canning, at least. 


The black krim, which are normally a purplish-brown, are all coming out this yellowish-green.  Strange colouring, but ripe and sweet.  The seeds I used came from one of last year's tomatoes which was the right colour when I harvested it - but almost all of my black krim's have been this lighter colour this year.  I think I'll chuck the leftover seeds and start over.


I pulled out all of the beets as I wanted to use the space to transplant my strawberries.


I also pulled out the remaining cucumber plants - too many already!  But look at the monsters that I found underneath.  Not sure what to do with these, but I hate to waste them so I'll figure something out.


And I harvested all of the remaining red onions from the raised gardens. I'm pretty happy with how they came out as I usually struggle with onions.   I suspect it is simply the location as the raised gardens have great loose soil.  I still have some Spanish onions in one of the dug gardens but they are tiny in comparison.


These are actually Red Baron bunching onions - I have been using a lot of chives when I want some chopped greens for garnish and have been neglecting the green onions.  I didn't realize they would grow so large if left long enough!?


I realized it was silly not to dry out herbs when I have so many so I've added some thyme to the sage I started drying last week.


And from this mornings little harvest, I have some more tomatillos and both sweet and hot peppers.  I have never had problems before growing jalapenos but this year's crop is a bit pathetic - again, I think it is the cool, wet weather.  Most of my gardening friends around here are complaining about the lack of tomatoes and peppers.


In fact, I went to a local market where I often purchase "seconds" of tomatoes when I am making large amounts of sauce only to be told their tomato crop wasn't doing too well this year.  But they suggested I come back in a couple of weeks (I must have salsa for the winter!).

That's it for my recent harvest ... visit Daphne's Dandelions to see other harvests from around the globe.

Saturday 23 August 2014

Kale Chips


These are delicious, but not sure it was worth the electricity used to make them.  I imagine this would be more efficient in a dehydrator!  You might think you are making a lot, but they shrink up so much.


Method:

Wash and completely dry about 12-14 ounces of kale.  Toss in a bowl with 2 Tbsp olive oil, 2 Tbsp balsamic vinegar and 1/2 tsp kosher salt.

Spread in a single layer on a parchment paper lined baking tray. Bake at 300 degrees F for about 15-20 minutes - check after the first 10 minutes as you might need to pull out any smaller pieces that might already be crisp.

Great on their own, or serve with a dip.


Wednesday 20 August 2014

Borlotti Beans: Different Levels of Maturity


I made a few mistakes growing borlotti beans last year ... I purchased the seeds without really understanding that they were intended to be "dried beans".  I ate many of them while still green as if they were french beans.  Tasty, by the way, but not what they are intended for.  And when I finally harvested them, I was a bit on the early side. 

I got some advice and waited longer this year.  Not sure if I have it quite down pat yet! These were harvested as soon as I got home tonight (lots of rain coming).  About seven pounds!


I immediately started to pop the beans from the pods.  Luckily I was close to my computer and, while opening some pods, I decided to check on the drying method. I was actually looking for how to dry the beans ... only to discover that the pods should be left to dry before removing the beans!  Oh boy, so much to learn.

In the meantime, I had already opened a few to test the readiness - these pics should help me next year to know when to harvest.  

Definitely the drier they are, the darker the colour.  These pods are so dry, I was thinking they seemed "mummified".  The colour of the beans is a deep purple.
.


But some of these older beans have a brown spot where the beans were attached to the pod.  Is that bad??


These ones were not quite as dry, but certainly well on their way.  Hard to tell from the picture but they are more crimson than the deep purple.


These three brighter pink pods were obviously at different maturity levels considering the beans inside.


There were many pods that were "mummified" - totally wrinkled, with some so dry the beans were already rattling.  So I went ahead and opened them up.  I so love the colours!!  The rest are spread out on some newspaper to dry for a week or so ...


Monday 18 August 2014

Harvest Monday: August 18, 2014

Kale x 2

I have really been slowing down in my posts and had even briefly decided to give up the whole idea of blogging.  My day job is keeping me busier and busier so that's part of it.  But to be honest, trying to keep up with new recipes every week is wearing me down.  Sometimes I just want to eat toast with peanut butter, you know?

Basil ... most of it went to a friend

But I have really enjoyed the sense of community from the Harvest Monday postings.  So a big thank you to Daphne of Daphne's Dandelions for hosting this event each and every Monday - a great opportunity for seasoned and beginner gardener's alike to show off (maybe even brag a bit?) about their green thumb.


I appreciate the comments I receive on my own harvests and equally enjoy checking out the harvests from others.  They are always inspirational and very often educational as well.  And I get great ideas for next year's garden (like those Musica beans that everyone else seems to be growing except me).


So I'll keep going ... though with less of a focus on cooking posts and generally fewer posts during the week so I don't get too overwhelmed.  Maybe it will only be Harvest Monday posts each week; I'll do those at a minimum.  And maybe the extra time I have will allow me to weigh the harvests like so many others already do ... or maybe not (I tried it once and it seemed like a lot of effort).

Jeanette, Nantais and Purple Haze


It will definitely give me more time to spend outside enjoying the sunshine on my face and the feel of dirt between my toes ... like last week when I planted carrots and beets for a late fall harvest (actually, I don't usually walk around in bare feet, it was a rare moment).


And here are the rest of the garden goodies for this week.

I rarely bother with drying sage as it is a herb I don't often use.  But the plant was threatening to overtake my precious french tarragon so I ripped a big chunk off.


I just bought a bunch of red onions at a farmers market because they looked so good.  So silly when I had these of my own to harvest (sometimes I can't help myself).


 And I finally have some peppers!  I have been waiting for most of my peppers to turn red so it's been a while.  Except for the anchos which are meant to be green.


 More mixed beets  ... time for a roasted beet salad.


Saturday 16 August 2014

Failures in the Squash/Melon Dept


I've been whining a lot about my lack of zucchini this summer - not a single one from about 8 plants!  But it isn't just the zucchini - it is all the plants that I put into straw bales this year including summer squash, pumpkin and watermelon. 

Bales were set out in early May

They are in the same vicinity as my winter squash which seems to be okay, although not terrific either.  Even in the mess of grass that came up in that area of the garden this year, I still have plenty of spaghetti and acorn squash on the way. 


But the butternut squash in that same garden has borne nothing so far and I only have two tiny cantaloupe.


The straw bale plants are tiny ... barely a foot tall when last year some were 8 feet in diameter a month earlier than this!


Here are two zucchini plants last July planted in hay bales.


I know that straw bales have much less nutritional value than do the hay bales that I used the previous year.  I added bone meal as well as some organic veggie fertilizer but nothing seems to help.  But I have a friend who has 3 of the same straw bales I do (I gave him three as he was nice enough to lend me his truck to get them) - his plants are perfectly fine!

When posting a previous complaint about this situation, someone asked about bees.  I may have dismissed that problem too soon.  Although the plants are small, they are flowering.  But that doesn't explain why the growth is so stunted - the growth of the vines has nothing to do with pollination.

This is my best pumpkin plant ... I might as well pull them all out.  Even if a pumpkin came up in the next day or two, it will not have enough time to mature.


And my only watermelon - again, this will never mature in time.


And these are my newest experiment ... mouse melon.  They are essentially baby watermelon that taste like sour cucumber.  I was very excited about these.  I have just a few mouse melon on their way and they don't get very big so are almost mature already.  But the plants (vines) themselves should be massive by now with hundreds of these little guys!


I will definitely get hay next year, not straw.  But I'm not convinced that is the only problem this year. The Red Kuri squash in another garden is equally stunted in its growth.  So maybe it is the very wet and cool summer we have been having? The concept of growing in bales is that between watering and sunshine, the inner part heats up and essentially begins to compost itself providing an appropriate medium for plant growth.  The hay bales last year were totally breaking down by this time; the straw bales are still in perfect condition. 

So basically, they were a total failure this year, but always great for a lesson learned to improve upon next year.

And the cool weather has been good for something ... my recent transplants of cabbage, cauliflower, broccoli and brussels sprouts for a fall harvest.  There should be very little chance of bolting if this cool weather keeps up.